Today I am going to outline how you can install and use the Linux User Mode (UML) in Windows 10 based on the new Windows Subsystem for Linux (WSL) that was announced at Windows Build 2016.
Why Bother? OS X works fine.
I am writing this jamming away on my Macbook Pro 15” connected to three external 1080p 120 Hz 3D monitors, my precision mouse and CODE mechanical keyboard. Once running ArchLinux for over a year, I’ve recently went back to OS X purely for the user experience. I miss my Arch installs; but, I don’t miss the annoyances around docking/undocking my tri-monitor setup and switching from HiDPI and my 1080p monitors. It was a painful experience when disconnecting and reconnecting.
I also ran Windows 10 natively on it for a few months as I got annoyed at VMware crashing Arch all the time. I was doing my C# Mono work in my Linux VM anyways and not natively on Windows. Battery life sucked with the VM though.
OS X just nails HiDPI perfectly when docking and undocking, switching primary monitors, etc.
No. The real reason I am interested in Linux on Windows is:
- Going back to Desktop Development
I have a 4.8 Ghz hex-core, 5300+ GPU core gaming beast of a machine (also connected to those same 3 monitors) just sitting idle, unused for months. ArchLinux natively on that Asus motherboard was ok; but, I miss my Windows games and no longer could control my TEC waterchiller (it was Windows software I wrote for it).
All Windows was missing was my GNU Linux tooling. I spent the better part of a week replacing all OS X versions of the tools (sed, ack, grep, etc) with the real GNU versions. OS X has Homebrew; Windows now has WSL.
To have the ability to have Linux natively available on Windows is just perfect for my desktop machine.
I only develop using NeoVim + Tmux anyhow; so, I don’t need GUI or Windows
interactions. I just need bash and proper screen redraw with 256 colors.
That’s it.
WSL and Linux User Mode RTM Release Date
It was suspiciously awkward that nothing made note of its availability; not from the keynote nor from Hanselman’s and MSDN’s introduction blog posts. All that was said was that the Windows 10 Insider Preview refresh released in January 2016 contained this new WSL platform, and that the bash tooling would be released for it soon. There was even a Windows Insider/dev that noticed the new WSL binaries/framework available back in January, before it was announced.
So a few of us kept poking and prodding at our MS resources, trying to get our hands on it.
It turns out that you have to take a few initiatives to get your system ready for UML. This experience has taught me the new way in which MS will be releasing features into Windows going forward.
Enough Already, How to Install It?
First, you can’t install it on your existing Windows 10. Not for some time, not until it is ready for public consumption. Currently Microsoft has said it will be part of the Anniversary build due out this summer.
This post is about getting access to the Insider Preview edition, before it is released.
Here’s the overview of what you need to do:
- Download Windows Insider Preview 14295 (14316 ISO is not out as of the time this writing. But there is a Windows Update to upgrade to 14316).
- Install it (recommended in a VM, as Previews usually expire).
- Go straight to Start –> Settings –> Updates and Security.
- Under “Update settings”, click Advanced options.
- Under “Get Insider Preview Builds”, click “Fix me” or whatever may show here.
You should end up with a slider, asking you to Choose your insider level. Like this:
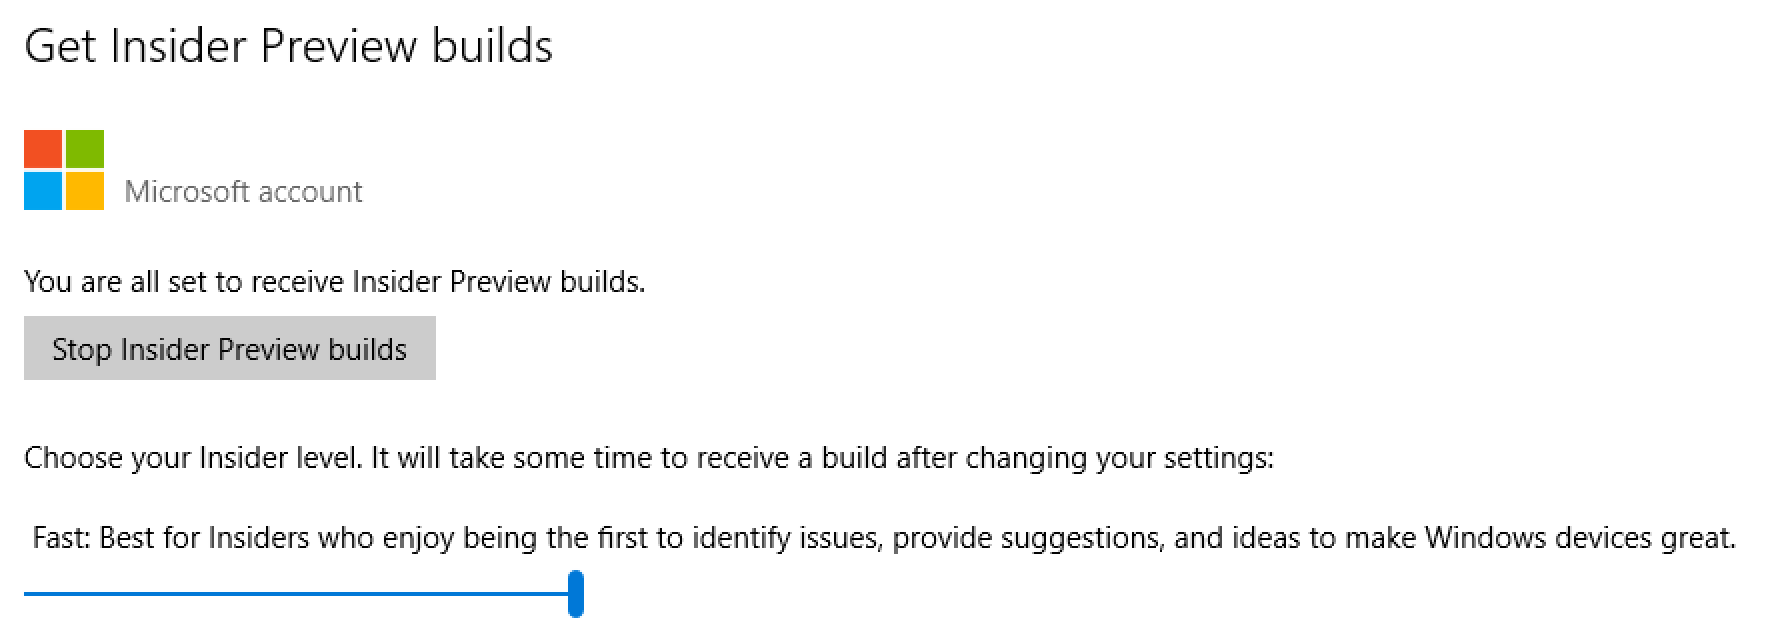
Move it all the way to the right, for Fast.
The next series of mouse-contortions is to turn on Developer Mode.
- Start –> Settings –> Update & security
- On the left, click For developers
- Select the option for Developer mode
- Restart.
You should be able to run Windows Update and see that Windows 10 Insider Preview 14316 is available.
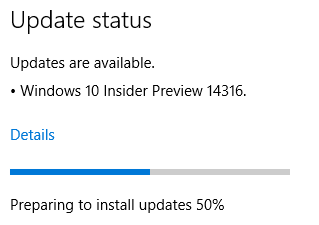
Download and install. You may want to go make some tea.
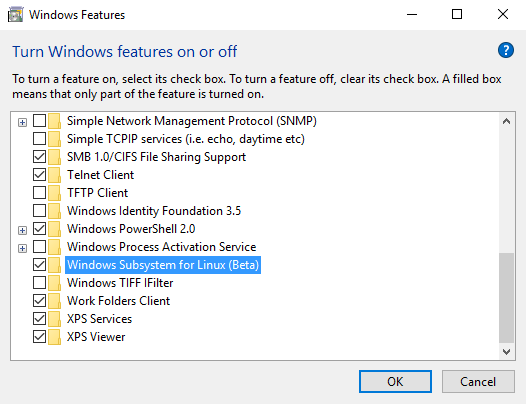
Another set of mouse-ninja-moves is to add the Bash features:
- click Start and type “Windows Features” and choose “Turn Windows features on or off”
- scroll down and enable “Windows Subsystem for Linux (Beta)”
- Click OK and Restart.
Install Bash on Ubuntu On Windows
If only we were done. We now need to download and install the Bash on Ubuntu on Windows desktop application, which currently seems to be done via a “bash” command line utility.
- Launch Console (Start –> type “CMD” and press Enter)
- Enter “bash” at the prompt and press “Enter”.
- Follow the prompt to download and install Ubuntu 14.04 LTS ISO.
- Once done, REBOOT (or at least I did).
Once rebooted, you now have a new Desktop app you can launch called Bash on Ubuntu on Windows
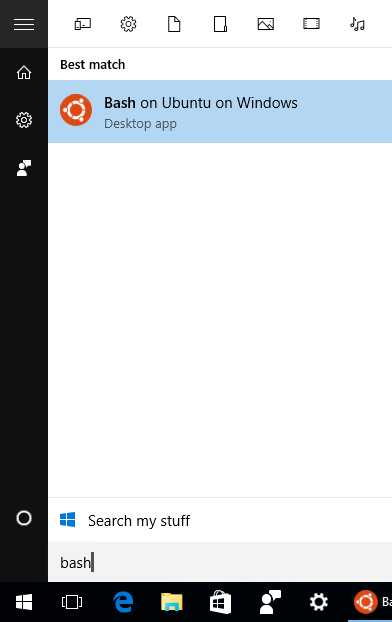
I thought once I hit “y” to install bash, I was in bash. It sure seemed like it but I had a few issues poking around. I went ahead and rebooted and noticed a new app was installed.
Quirky
A number of things weren’t working with my default installation. I’ll work on those and will update this post, or create another walk-through.
Stay tuned!